Greetings. lol excelent job everyone.
Here is my update on decaling
No major issues during that stage, only the decals could have been thinner but... it works that way too
All the best,
Metodi

Air Campaigns
Want to start or join a group build? This is where to start.
Hosted by Frederick Boucher, Michael Satin
OFFICIAL: Fighters! Campaign Thread
EmperoR
Sofiya, Bulgaria
Joined: October 06, 2008
KitMaker: 67 posts
AeroScale: 61 posts
Joined: October 06, 2008
KitMaker: 67 posts
AeroScale: 61 posts
Posted: Friday, October 19, 2012 - 07:40 PM UTC
Posted: Friday, October 19, 2012 - 10:59 PM UTC
Nice progress everyone!!!
I just would like to add that I have posted a build report of my Ki 10 on my website .. some more pix too. I am still amazed that I could put the model together in such a little time..
Link: Kawasaki Ki-10-II Type 95 fighter
all the best
Steffen
I just would like to add that I have posted a build report of my Ki 10 on my website .. some more pix too. I am still amazed that I could put the model together in such a little time..
Link: Kawasaki Ki-10-II Type 95 fighter
all the best
Steffen
SaxonTheShiba
United States
Joined: February 01, 2009
KitMaker: 1,233 posts
AeroScale: 663 posts
Joined: February 01, 2009
KitMaker: 1,233 posts
AeroScale: 663 posts
Posted: Sunday, October 21, 2012 - 07:44 AM UTC
Metodi---Great work on your P-39 so far. The Red-Bordered stars and bars really contrast well with that scheme.
Steffen--Beautiful presentation on the KI-10.
Well the F-4"Sierra" is done and posted in the gallery. It was completed with the following enhancements:
CAM Resin Martin Baker bang seats
CAM -S model Resin Wing Slat Conversion
CAM Decals for VF-302
Eduard PE RBF tags
Scratchbuilt intake and exhaust covers
RIO'S panel was completely wired
Scratchbuilt underside reinforcement spar for -S model
Helmets removed from crew figures (OUCH!!) and drilled out and then decalled with decal stock and additionl markings hand drawn with a micron pen.
The plane depicted is "Stallion Two-Zero-Zero" from the "Stallions" of VF-302, Reserve Air Wing-30, NAS Miramar, early '80's .
WHEN YOU ARE OUT OF F-PHOUR'S YOU ARE OUT OF PHIGHTERS!!
This has been a very enjoyable campaign and the level of workmanship from the modellers in this crew is extremely impressive...as always.
Best wishes, Ian
Posted: Sunday, October 21, 2012 - 08:09 AM UTC
Ian, a very impressive model of a subject I never thought a great deal of, until I read that Eric (Winkle) Brown thought the F-4 Was the finest jet fighter he ever flew, and he flew most of them. Anyway, the cockpit is one of the best I have ever seen, well done.
SaxonTheShiba
United States
Joined: February 01, 2009
KitMaker: 1,233 posts
AeroScale: 663 posts
Joined: February 01, 2009
KitMaker: 1,233 posts
AeroScale: 663 posts
Posted: Sunday, October 21, 2012 - 08:58 AM UTC
Andrew, thanks for the compliment.! Great thing about 32 scale cockpits is that you can really detail them out. Downside is where to put a two foot long airplane. Anyway, thanks again sir.
Best wishes, Ian
Best wishes, Ian
Siderius
Tennessee, United States
Joined: September 20, 2005
KitMaker: 1,747 posts
AeroScale: 1,673 posts
Joined: September 20, 2005
KitMaker: 1,747 posts
AeroScale: 1,673 posts
Posted: Sunday, October 21, 2012 - 11:03 AM UTC
Ian, build a four foot long hanger, that is the answer? LOL Russell (great build by the way)
Snorri23
Ontario, Canada
Joined: March 25, 2010
KitMaker: 514 posts
AeroScale: 244 posts
Joined: March 25, 2010
KitMaker: 514 posts
AeroScale: 244 posts
Posted: Sunday, October 21, 2012 - 11:55 AM UTC
SaxonTheShiba
United States
Joined: February 01, 2009
KitMaker: 1,233 posts
AeroScale: 663 posts
Joined: February 01, 2009
KitMaker: 1,233 posts
AeroScale: 663 posts
Posted: Sunday, October 21, 2012 - 12:10 PM UTC
Russell and Trevor, thank you!!!
Trevor----stunning -109, to say the least. Beautiful work in regards to the mottling on the camo scheme and a very eye-catching finish.
Best wishes, Ian
Trevor----stunning -109, to say the least. Beautiful work in regards to the mottling on the camo scheme and a very eye-catching finish.
Best wishes, Ian
Posted: Sunday, October 21, 2012 - 12:16 PM UTC
Everyones builds are coming along nicely!
Ian I really like the F-4!
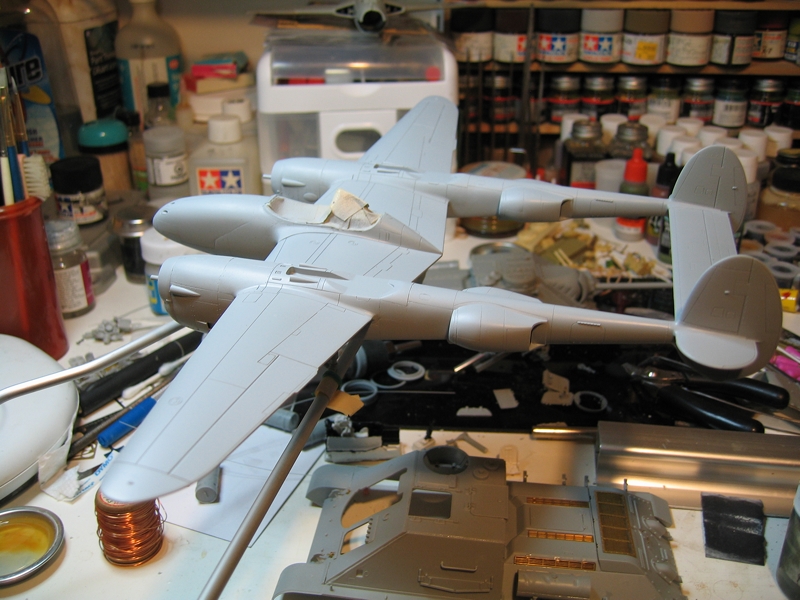
Got some primer on and my putty and scribe job isn't so bad so I will be doing a natural metal finish.
I have a question though, I will be using AlcladII should I use a regular finish or a high shine finish?
Cheers Rob.
Ian I really like the F-4!
Got some primer on and my putty and scribe job isn't so bad so I will be doing a natural metal finish.
I have a question though, I will be using AlcladII should I use a regular finish or a high shine finish?
Cheers Rob.
SaxonTheShiba
United States
Joined: February 01, 2009
KitMaker: 1,233 posts
AeroScale: 663 posts
Joined: February 01, 2009
KitMaker: 1,233 posts
AeroScale: 663 posts
Posted: Sunday, October 21, 2012 - 12:25 PM UTC
Thanks Rob. If you are doing an in-theater -38 I would probably use the regular Alclad finish. I think the sheen on that is about right without being too shiny. The model looks great.
Regards, Ian
Regards, Ian
Posted: Sunday, October 21, 2012 - 12:45 PM UTC
Thanks Ian,
That is what I was thinking and it is less work.
Cheers Rob.
That is what I was thinking and it is less work.
Cheers Rob.
Posted: Sunday, October 21, 2012 - 02:53 PM UTC
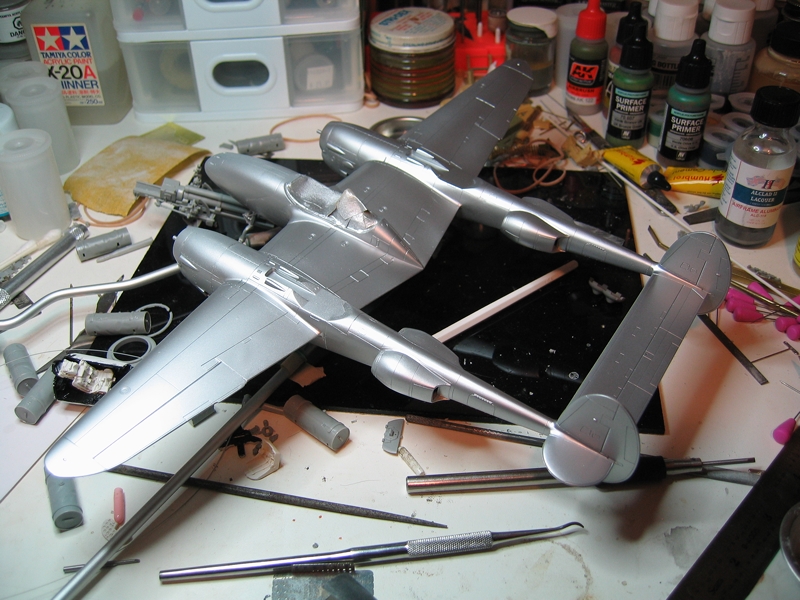
Ok, got a base coat on.
Cheers Rob.
Cheers Rob.
EmperoR
Sofiya, Bulgaria
Joined: October 06, 2008
KitMaker: 67 posts
AeroScale: 61 posts
Joined: October 06, 2008
KitMaker: 67 posts
AeroScale: 61 posts
Posted: Sunday, October 21, 2012 - 07:13 PM UTC
Did some insignia fading
All the best
Metodi
All the best
Metodi
wespe66
Frederiksborg, Denmark
Joined: June 27, 2011
KitMaker: 122 posts
AeroScale: 121 posts
Joined: June 27, 2011
KitMaker: 122 posts
AeroScale: 121 posts
Posted: Monday, October 22, 2012 - 04:45 AM UTC
Hi,
Richard, congrats on finishing your fine model. One of my favorite aircraft and very well done.
Ian, congrats on your finished build.It sure looks great - very impressive!
Others: I'm looking forward to see your finished builds!
Update time:
Markings have been applied. Since the pictures were taken the model has received a gloss coat, stencils and then another gloss coat. Next up is weathering.
Cheers!
Posted: Monday, October 22, 2012 - 07:11 AM UTC
Metodi great work on your model nice to see it close to the finish
Ian I love the F-4 it is stunning
Trevor great work on the 109 so far
Rob the P-38 is looking great with the base coat on
Ken your 109 looks great and looks to be coming on nicely
Richard great work on the Hurricane (reminds me must get round to building my 1/48 Italeri one)
Grenider wonderful job on the 110
SaxonTheShiba
United States
Joined: February 01, 2009
KitMaker: 1,233 posts
AeroScale: 663 posts
Joined: February 01, 2009
KitMaker: 1,233 posts
AeroScale: 663 posts
Posted: Monday, October 22, 2012 - 09:24 AM UTC
Kenneth and Sam---thanks for the kind words regarding the "Rhino".
Kenneth---the 109 looks great and a very nice job regarding the camo.
Rob---sweet looking NMF base coat. Smooth!!!!!
Metodi----great weathering on the national insignia on your -39.
RAM ON!!!!!
Best wishes, Ian
Kenneth---the 109 looks great and a very nice job regarding the camo.
Rob---sweet looking NMF base coat. Smooth!!!!!
Metodi----great weathering on the national insignia on your -39.
RAM ON!!!!!
Best wishes, Ian
Posted: Monday, October 22, 2012 - 11:45 AM UTC
Thanks Sam,Ian!
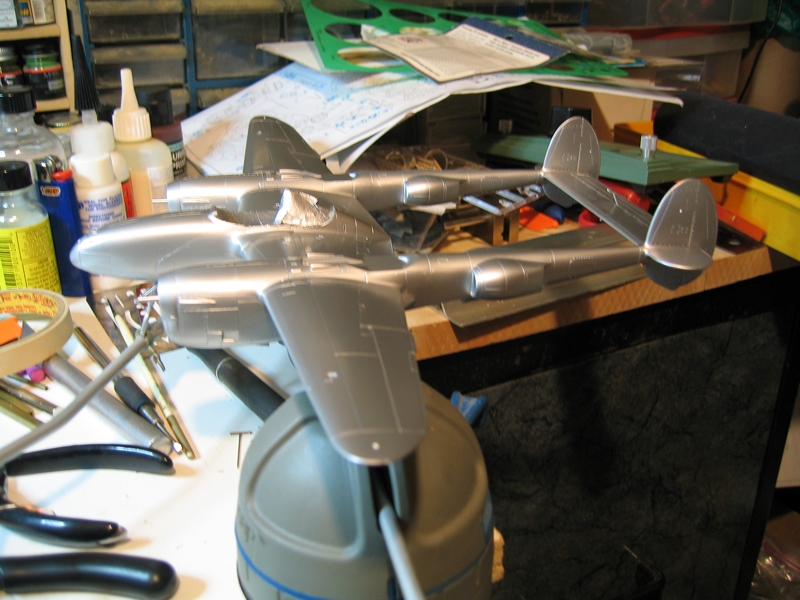
I thought I was going to have problems with the finish as I only have two armour kits under my belt using an airbrush and it's my first time using Alclad II that and all the filling and sanding I am quite surprised that it came out as good as it did.
Here is a shot after a little clean up and a second coat, that's it for the metal finish now onto colours and markings.
Cheers Rob.
Posted: Monday, October 22, 2012 - 12:26 PM UTC
Hello everyone.
Here is the next installment of my Lindberg ME 262 kit
I took a couple of extra days for the assembly to fill and sand a few seams, they are not perfect but the aircraft already has less gaps than the finished model on the box art. LOL.
The last aircraft I did was a Sea Vixen and I had to respray the white several times.
on this kit I started out with the RLM 76 (Model Master) light blue for the underside and used it for the topside primer as I have a couple of spots to sand yet.
I used a Badger Krome at about 18 psi. And it just rocked. here is the photo.
sorry if I seem a bit long winded.
Delbert
SaxonTheShiba
United States
Joined: February 01, 2009
KitMaker: 1,233 posts
AeroScale: 663 posts
Joined: February 01, 2009
KitMaker: 1,233 posts
AeroScale: 663 posts
Posted: Tuesday, October 23, 2012 - 02:32 AM UTC
Delbert---the -262 is coming along nicely. Glad the Badger Krome worked well. I have heard good things about it.
Unfortunately my VF-302 "Stallions" patch arrived in the mail after I had already shot and posted the F-4S. So here is the patch without the airplane because I didn't want to beat a "dead horse". HAH! Very cool design.....
Regards everybody, Ian
Unfortunately my VF-302 "Stallions" patch arrived in the mail after I had already shot and posted the F-4S. So here is the patch without the airplane because I didn't want to beat a "dead horse". HAH! Very cool design.....
Regards everybody, Ian
Posted: Tuesday, October 23, 2012 - 04:54 AM UTC
Delbert great work on the 262
Ian good to see the patch turned up
Just a time check only 8 days left of the campaign guys and gals so final push to the finish
Ian good to see the patch turned up
Just a time check only 8 days left of the campaign guys and gals so final push to the finish
Posted: Tuesday, October 23, 2012 - 02:24 PM UTC
hello
I did my research, Got my colors all ready for the paint. I carefully started out my mottling job..
I went with late war RLM 82 light green and RLM 81 brown violet.
The green went on great, got the top of all the wing and tail surfaces and along the top of the aircraft.
started trying the mottling of the RLM 81 and the paint brush decided to get a mind of its own and add to much paint everywhere i tried to go lightly..
so here is an aircraft that started out mottled, wound up in splinter camo, and the ground crew threw in some squiggles for free..
not my best i'll admit, but its unique. so far.
Delbert back to the books
Posted: Wednesday, October 24, 2012 - 02:33 PM UTC
me again.
Well as you can see from the previous post that my first attempt at a free hand airbrush camo mottle scheme just didn't work out.
I resprayed my 262 with the RLM 76 Light Blue, which covers well by the way.
I didn't like the RLM 82 Bright Green / RLM 81 brown violet colors.
I've read that some aircraft substituted RLM 83 Dark-Green for the bright RLM 82 and that is what I'm doing now. I like this color a lot more. Will be adding the RLM 81 later.
here is the progress so far.
thanks for looking
Delbert
mrockhill
Pennsylvania, United States
Joined: June 17, 2009
KitMaker: 566 posts
AeroScale: 507 posts
Joined: June 17, 2009
KitMaker: 566 posts
AeroScale: 507 posts
Posted: Wednesday, October 24, 2012 - 02:45 PM UTC
No pics for this update on my Zero since things havent changed enough to warrant some. I had applied the decals, initially using future to set them. After not seeing much in the way of conforming to panel lines, I hit them with microsol and with some work got the most stubborn ones to settle in. The upper wing hinomarus were the hardest since the nav lights are right in the middle of them. The decals had some raised edges in a few places. Im not really sure why but it was unacceptable so I decided to sand them down. I was glad I did as they blended in nicely with a few minor touch ups required. Today I sealed them down and finished up some deallimg loose ends on the landing gear and prop. As a side note, My PC kicked the bucket last thursday, so instead of building, I spent the weekend turning lead into gold to replace it. Needless to say Im behind but think I can still manage a landing next week... on fumes
Bigrip74
Texas, United States
Joined: February 22, 2008
KitMaker: 5,026 posts
AeroScale: 2,811 posts
Joined: February 22, 2008
KitMaker: 5,026 posts
AeroScale: 2,811 posts
Posted: Wednesday, October 24, 2012 - 02:55 PM UTC
Delbert, you have broken ground for my own journey into that realm of a/b mottleing BTW I thought that your first attempt was pretty good even if the ground crew were still drunk after the fumes your second attemp looks really good and that Lindburg kit is looking like a champ now. Its settled I will order mine this weekend to join you in a/b practicing
Bob
Bob
Posted: Wednesday, October 24, 2012 - 06:40 PM UTC
Delbert the 262 is looking great youve done really well with the airbrush ( have to admit I prefer the colours used on the second attempt but only because mine is done in those colours )
Mike glad you got the decals sorted sounds like you are pretty much done everything crossed for a finish for you.